
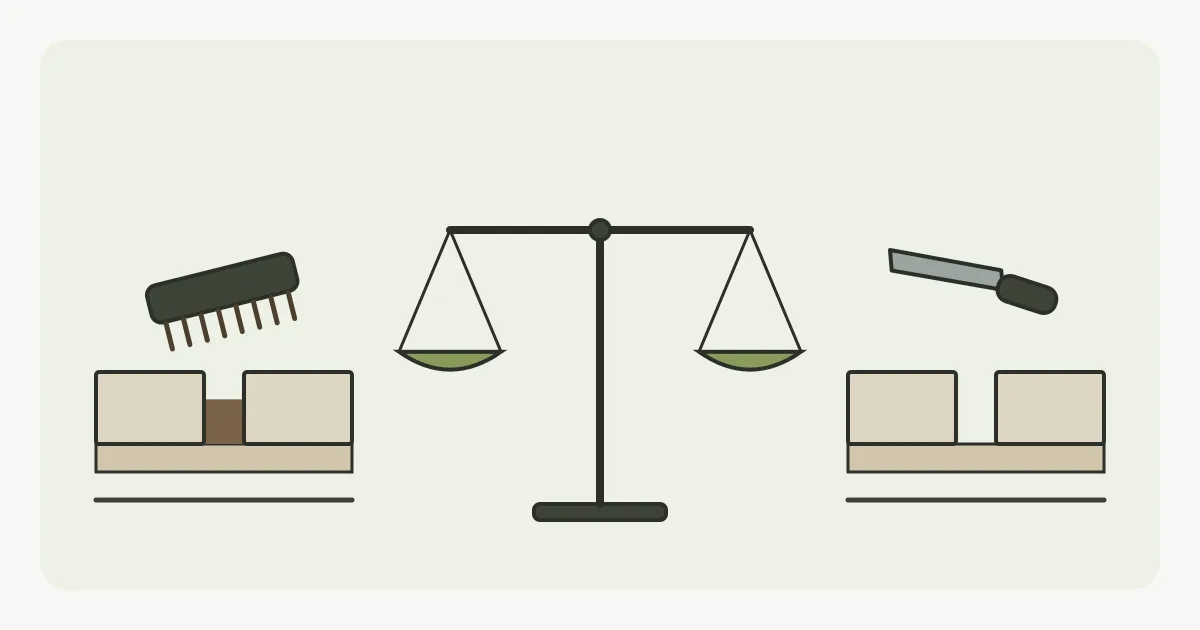
Of everything on this site, repointing is the one patio job a reasonably handy homeowner can genuinely do. Nobody is suggesting you dig out a sub-base on your own. Refilling the joints on a small patio with a brush-in compound, though, is well within reach, and plenty of people do it.
Where DIY repointing goes wrong is almost never the bit people worry about. Getting the new material in is quick and easy. Getting the old material out is slow and hard, and that's the step that decides whether the job lasts.
What the job actually involves
- Raking out. Every joint has the old pointing removed to a consistent depth, without chipping the slab edges. Soft, crumbling mortar comes out with a hand tool. Hard cement-rich pointing has to be cut out with an angle grinder and a diamond blade, joint by joint.
- Cleaning. Dust, grit, moss and weed roots come out of every joint. A pressure washer helps, but it also means waiting for the joints to dry if your compound needs them dry.
- Refilling. Mortar is pressed in and tooled, or a brush-in compound is swept in and the surface cleaned off before it cures.
- Curing. The patio is kept off-limits and, depending on the product, protected from rain or frost for the time the manufacturer specifies.
Step one takes most of the time. On a small patio with soft old pointing, a weekend can cover it. On a larger patio with hard joints, it can take far longer than you'd expect, and it's tiring work on your knees.
When DIY makes sense
- The patio is small, and the slabs themselves are sound, flat and firmly bedded.
- The old pointing is soft enough to come out by hand, or you're comfortable using a grinder safely.
- The joints are reasonably even in width, which suits a brush-in compound.
- You can choose your weather. Most compounds and all mortar need a dry spell and temperatures above the manufacturer's stated minimum.
- You're happy to accept a finish that's good rather than perfect.
When it doesn't
- Slabs rock, have sunk or are cracked. That's a patio repair first; new pointing around a loose slab cracks again within months.
- The joints keep failing in the same place. That points to water under the patio or a problem with the bed, which repointing won't touch. Our repair, repoint or replace guide helps you tell the difference.
- The old pointing is hard cement and the patio is large. The grinding alone becomes a multi-day job with a lot of dust.
- The paving is a soft natural stone that chips easily, or a light porcelain that shows every smear of mortar or compound left on its surface.
The raking-out step, honestly
This is where most failed DIY repointing goes wrong. It's tempting to brush out the loose bits, see a firm surface underneath and fill over it. The new material then sits as a thin skin over old mortar it can't bond to, and lifts after a winter or two. Every jointing product has a minimum depth it needs to grip and stay put. Check the tub, and rake out to at least that, all the way along.
If you're using a grinder, two warnings. Cutting mortar and stone throws up fine dust containing silica, which the Health and Safety Executive links to serious lung disease, so wear a properly fitted dust mask rated for it and wet the work where you can. And a grinder that wanders out of the joint takes a chip out of the slab edge, which no amount of new pointing will hide.
Choosing what to fill with
For most DIYers, a brush-in jointing compound is the easier route. It's swept into the joints rather than pressed in one at a time, so the finish depends less on practised trowel work. It does cost more per square metre than sand and cement, and some types need the joints wet while others need them bone dry, so read the instructions before you start. Mortar pointing is cheaper and suits wide, irregular joints, but tooling it neatly takes practice. The jointing compounds comparison goes through mortar, brush-in resin and polymeric sand side by side.
DIY or professional: the cost comparison
A rough comparison for a typical garden patio. Material and hire costs vary with joint size, product and where you buy.
| DIY | Professional | |
|---|---|---|
| What you pay for | Jointing material, tool hire, safety kit, your time | Labour, materials, waste, usually some form of guarantee |
| Typical outlay | Materials and hire, often a fraction of a professional quote | £300 – £1,200 depending on size |
| Time | A weekend for a small patio with soft joints; much longer for hard ones | Usually a day or two |
| Main risk | Shallow raking out, product failing to cure, stained slabs | Choosing a contractor who cuts corners on raking out |
| Best suited to | Small patios, soft joints, sound slabs | Larger patios, hard cement joints, any loose slabs |
The patio repointing cost guide explains what drives the professional price. The short version is that you're mostly paying someone else to do the raking out properly.
Some people do the raking out themselves and pay a repointing specialist just to fill and finish, or the other way round. Not every contractor will agree to it, because they can't vouch for preparation they didn't do, but it's worth asking if your budget is tight and your knees are good.
How to repoint a small patio with a brush-in compound
- Check the slabs first
Walk the patio and press on every slab. Anything that rocks, has sunk or is cracked needs repairing before you repoint.
- Rake out every joint
Remove the old pointing to at least the minimum depth stated on your jointing product, keeping the depth consistent and avoiding the slab edges.
- Clean the joints
Brush or wash out dust, grit, moss and roots. Let the joints dry if your product needs them dry.
- Check the weather
Make sure you have the dry spell and minimum temperature the product requires for application and curing.
- Fill and finish
Sweep the compound into the joints, compact it as the instructions describe, and clean every trace off the slab surfaces before it sets.
- Leave it to cure
Keep people and furniture off the patio for the time the manufacturer specifies.
Frequently asked questions
Can I repoint a patio myself?
On a small patio with sound slabs and soft old pointing, yes. It's one of the few patio jobs that's realistic for a homeowner. The part people underestimate is raking out the old material to a proper depth, which is slow, hard work and the main reason DIY repointing fails early.
Can I point over old patio pointing?
Not reliably. New material laid in a shallow skin over old mortar has nothing solid to bond to and tends to lift within a season or two. Rake out to the minimum depth your product states first.
Is brush-in jointing compound easier than mortar for DIY?
Usually, yes. It's swept into the joints rather than pressed and tooled one by one, so the finish depends less on practice. It costs more per square metre, and each product has its own rules about wet or dry joints and weather, so follow the instructions closely.
How long does DIY patio repointing take?
Filling the joints is quick. Raking out is the slow part: a small patio with soft pointing might take a weekend, while a larger one with hard cement joints can take several days of grinding.
Ready to talk to a patio repointing specialist?
Get Free Quotes →